AWS Environment
4 minute read
This chapter describes what needs to be prepared in AWS Identity and Access Management to perform an inventory with Docusnap.
Within the Inventory Wizard, the following information is required:
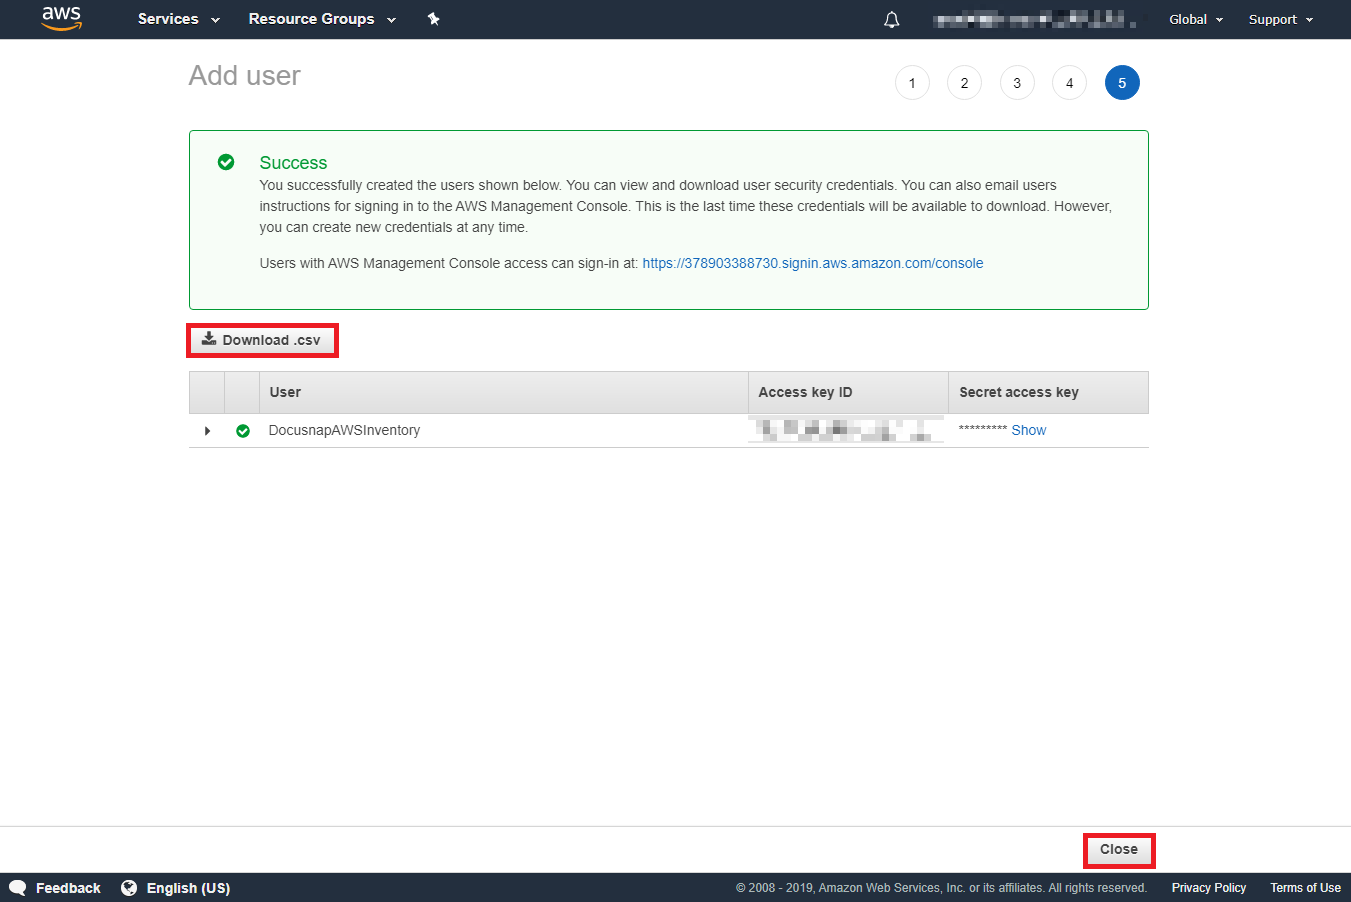
- Access Key ID
- Secret Access Key
A user in IAM with sufficient permissions is required for the following configuration steps. This user must be able to perform at least the following actions:
- Create policies
- Create a user and assign the created policies
Basic Permissions
For a successful inventory, the scanning user requires permissions in the areas of IAM and Organizations. These are already included in the AWS-managed policies IAMReadOnlyAccess and AWSOrganizationsReadOnlyAccess and can be assigned directly.
Instead of the managed policies, you can also create custom policies for IAM and Organizations. In this case, the following permissions are required at minimum:
IAM Permissions:
iam:GenerateCredentialReportiam:GenerateServiceLastAccessedDetailsiam:Get*iam:List*iam:SimulateCustomPolicyiam:SimulatePrincipalPolicy
Organizations Permission:
organizations:DescribeAccount
Policies for AWS Services
Read permissions on the respective AWS services are required for the inventory with Docusnap. For most services, AWS-managed ReadOnlyAccess policies are available that you can assign directly to the user:
- AmazonEC2ReadOnlyAccess
- AmazonRDSReadOnlyAccess
- AmazonS3ReadOnlyAccess
- AWSLambda_ReadOnlyAccess
- AmazonSQSReadOnlyAccess
If you require more granular permissions, or if no ReadOnlyAccess policy is available for a service (e.g. Batch), you need to create a custom policy. To do this, select IAM under Services.
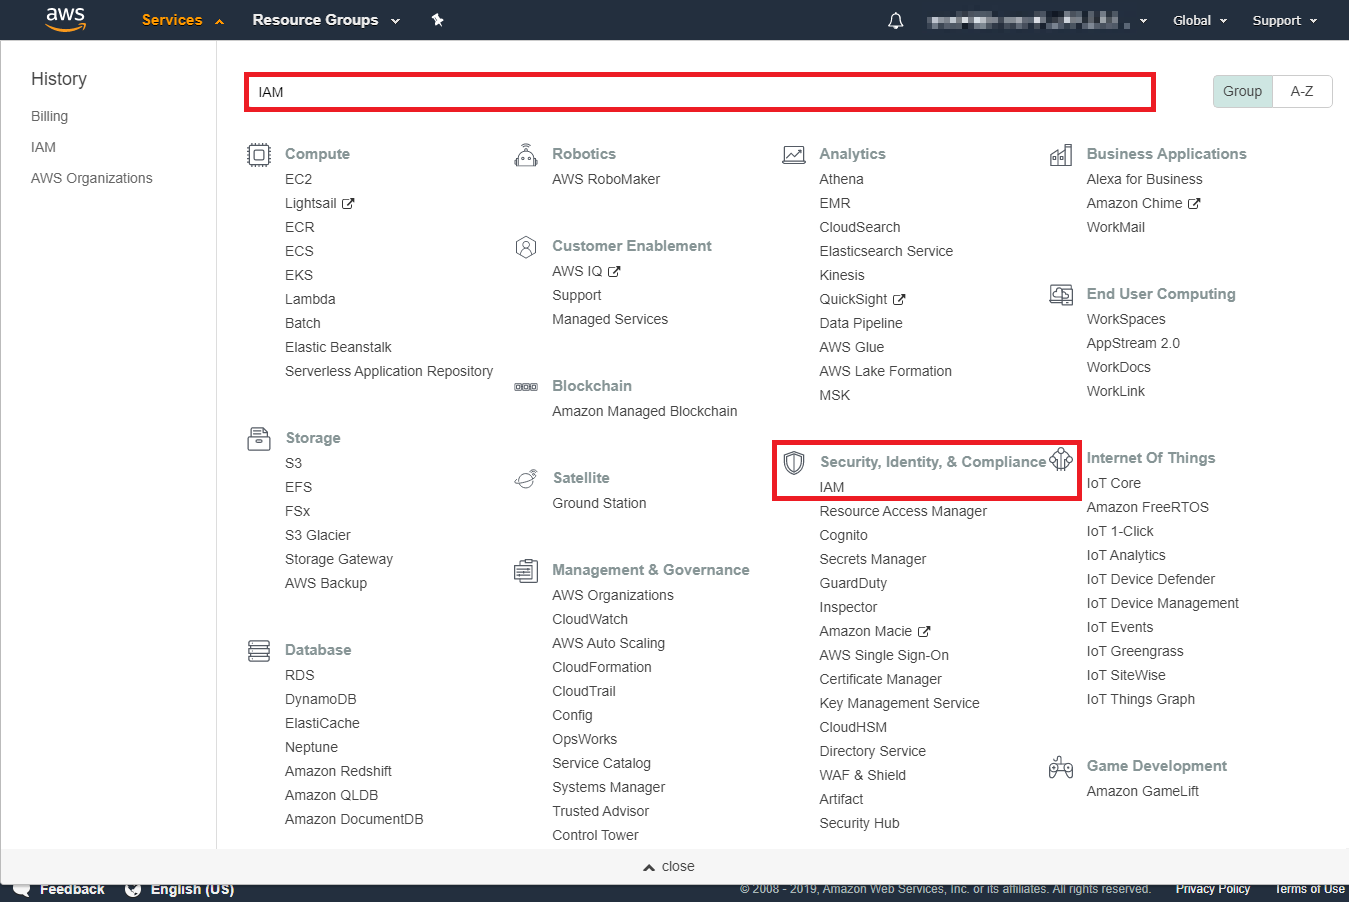
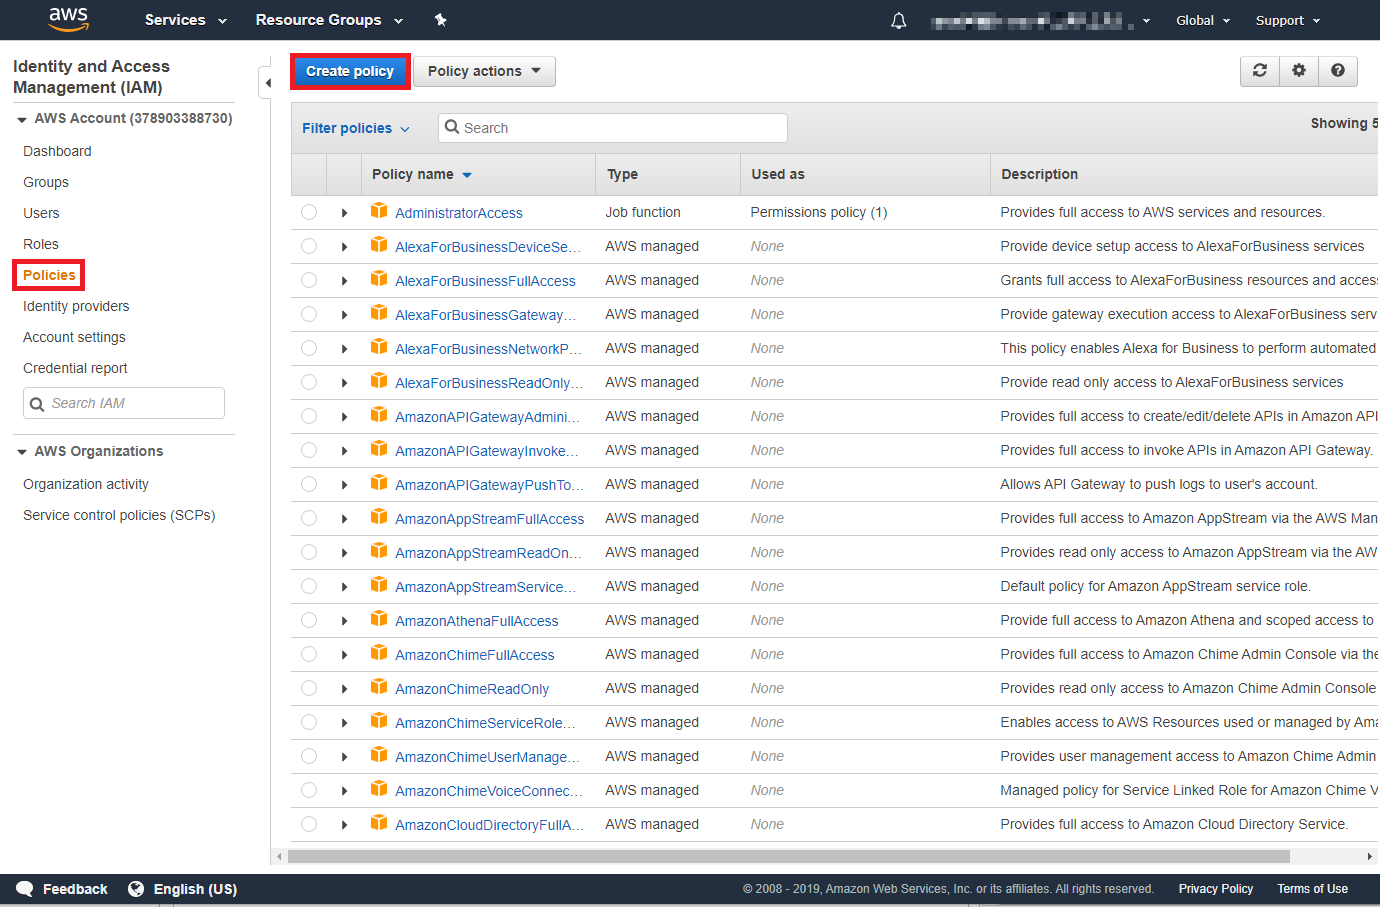
You can then create a new policy under Policies by clicking the Create Policy button.
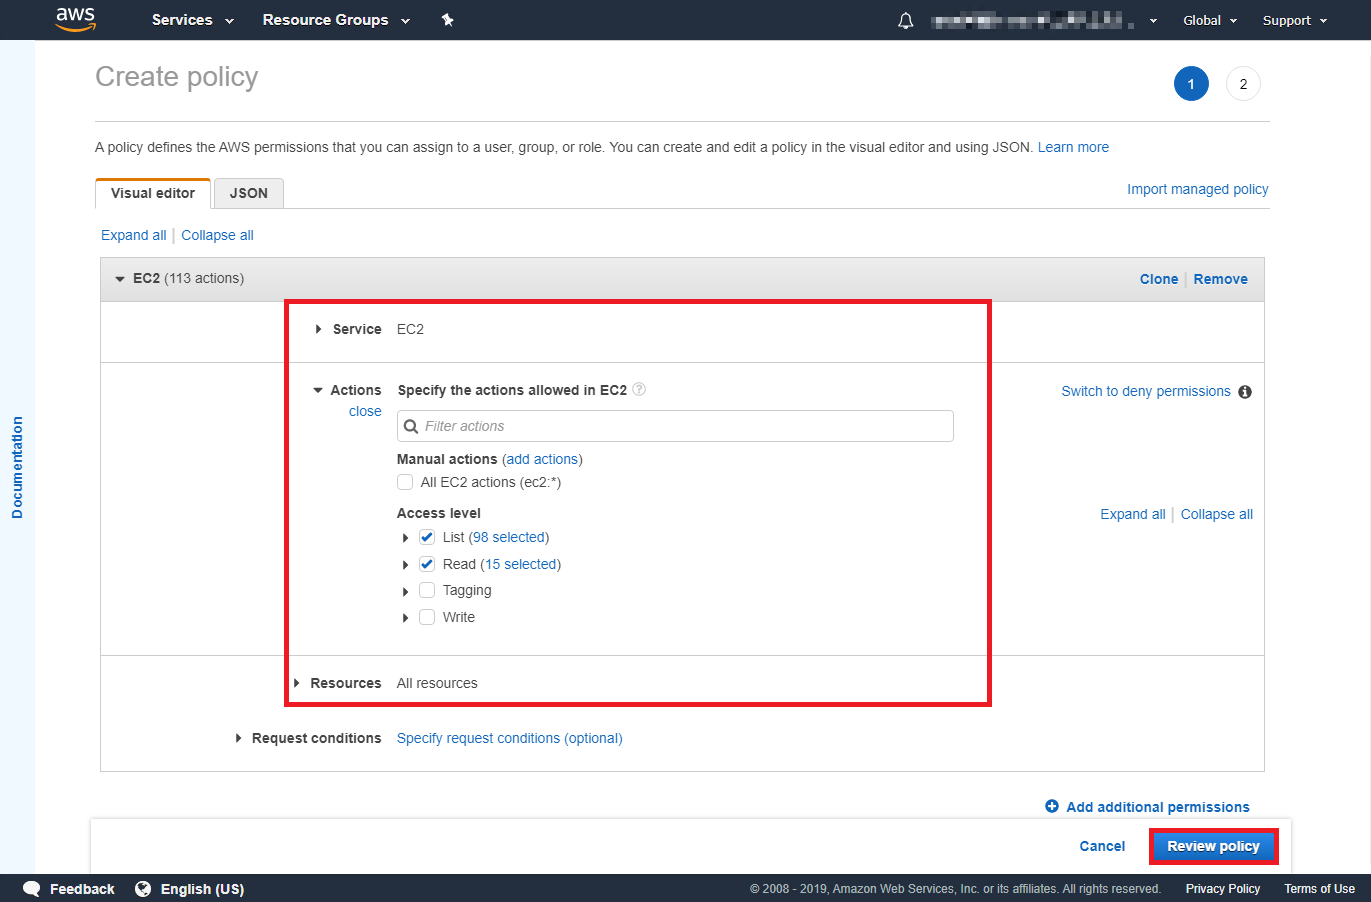
Using the visual editor, define the areas Service, Actions and Resources. The permitted actions should be restricted to the access levels List and Read. For Resources, it is recommended to authorize all resources of the respective service. For services with many actions, you may need to use the JSON editor with wildcards, as the visual editor can exceed the character limit for policies.
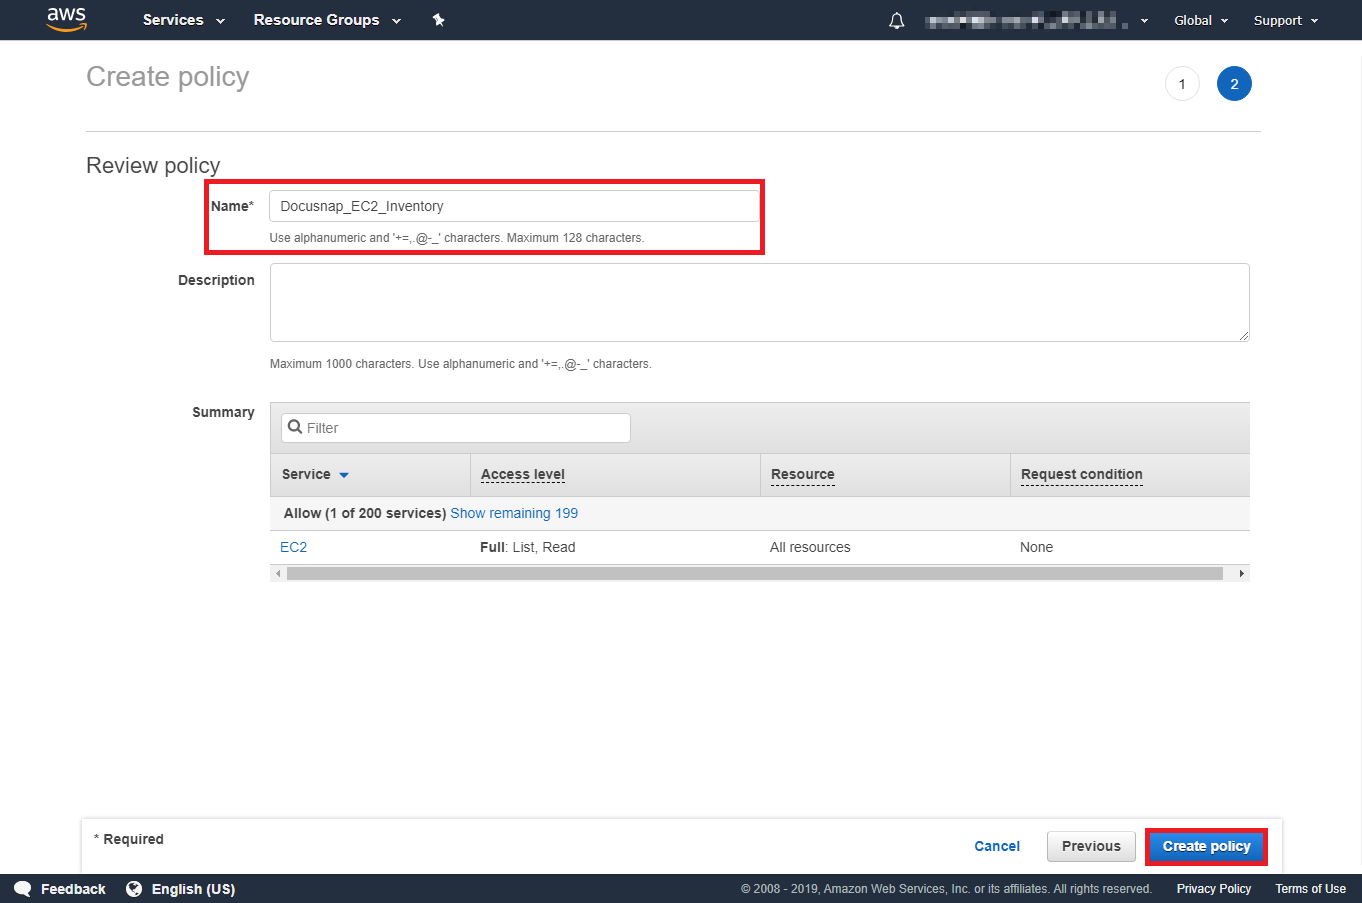
Assign a unique name to each custom policy (e.g. Docusnap_Batch_Inventory) along with an optional description. The configuration is completed via Create policy.
Configure User
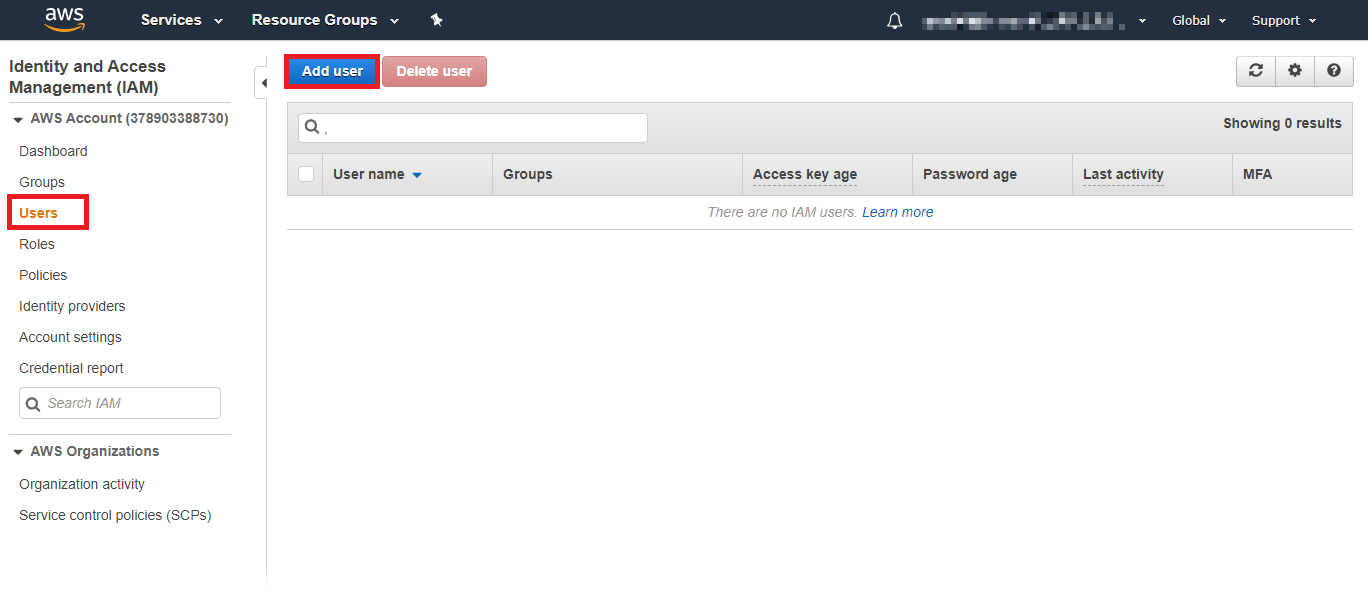
The AWS-managed ReadOnlyAccess policies as well as any custom policies now need to be assigned to a user. To do this, select Users under Services – IAM.
Create User
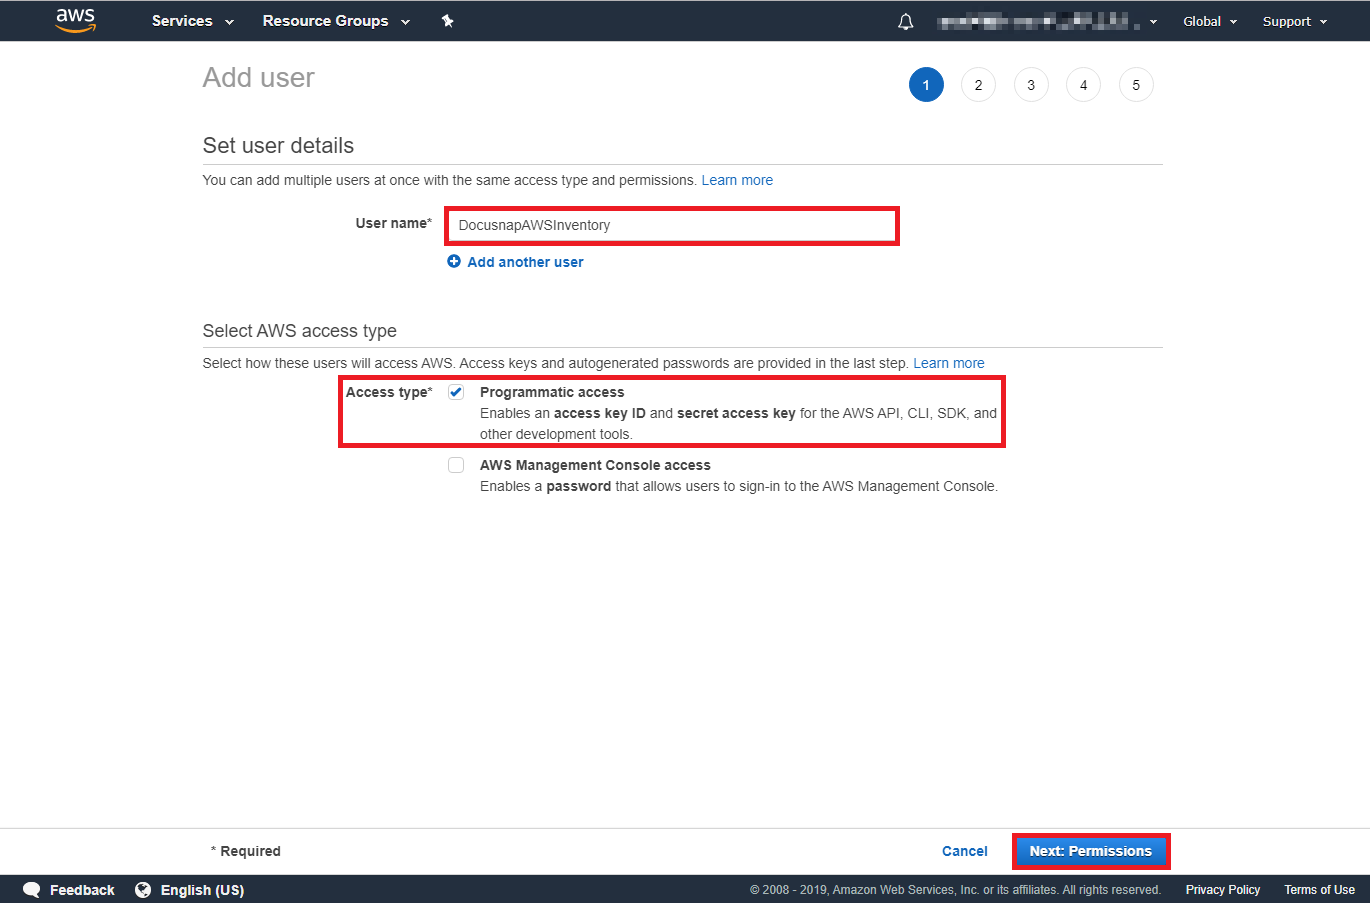
You can create a new user via Create user. Choose a unique user name (e.g. DocusnapAWSInventory). The option Provide user access to the AWS Management Console is not required and should remain deactivated. Click Next to proceed to the next step.
Set Permissions
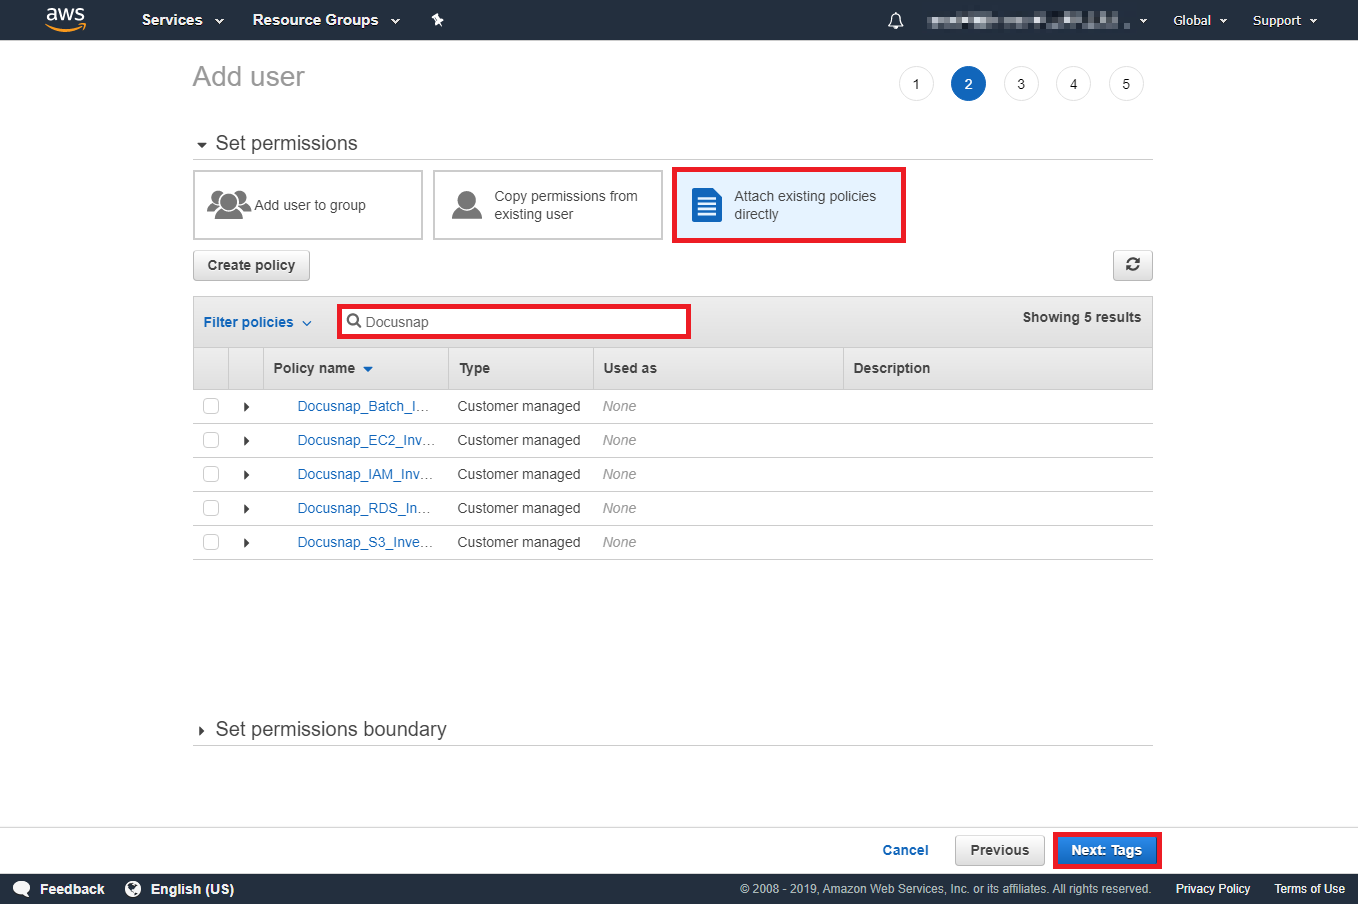
There are two different options to authorize the user for inventory.
- Add user to group
This option can be selected if the policies should be assigned to a group. - Attach existing policies directly
This option is described below to bind the policies directly to a user.
Under Attach existing policies directly, assign the following policies to the user:
First, the two AWS-managed policies for the basic permissions: IAMReadOnlyAccess and AWSOrganizationsReadOnlyAccess.
Then assign the AWS-managed ReadOnlyAccess policies for the services to be inventoried (AmazonEC2ReadOnlyAccess, AmazonRDSReadOnlyAccess, AmazonS3ReadOnlyAccess, AWSLambda_ReadOnlyAccess, AmazonSQSReadOnlyAccess) as well as any custom policies (e.g. Docusnap_Batch_Inventory).
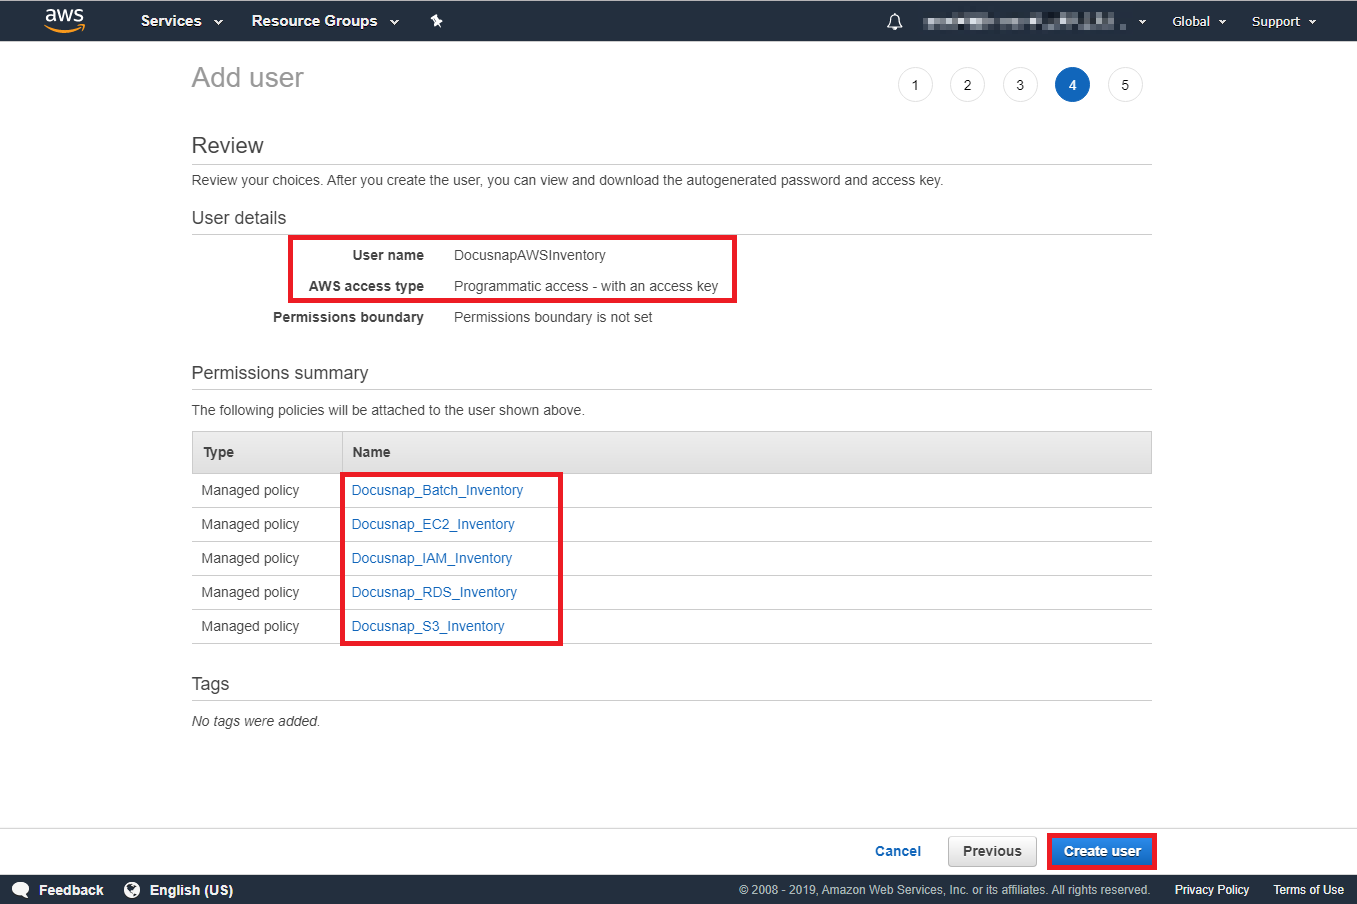
You can review the entered information once more. Click the Create user button to complete the configuration.
Receive Keys for Inventory
After creating the user, you need to generate the access keys for programmatic access. Click View user to go directly to the overview page of the created user. Alternatively, you can reach the overview page at any time via IAM → Users and selecting the corresponding user.

You can create a new key via the Create access key link in the overview. Alternatively, this can also be found in the Security credentials tab under the Access keys section.
In the next step, the use case for the access key is requested. Select Other, as the key is used for the inventory by Docusnap.
