Inventory
2 minute read
The Inventory ribbon can be used to call the wizards to start the inventory process. The functionality of the inventory wizards is explained in the chapter Inventory.
Click the Network Scan button to open the wizard.
The Initial Scan collects basic network information such as Active Directory, Windows systems, DHCP, DNS, Exchange and SNMP with a wizard.
Depending on which systems are to be inventoried, the respective wizard can be called.
The ADS Comparison compares the inventoried systems with the systems in the Active Directory. Then the systems that are no longer in the Active Directory but still exist in Docusnap are displayed. In this dialog you can specify whether these systems should also be deleted from the Docusnap database. The Active Directory is not changed by Docusnap.
Additionally, result files from the autonomous discovery modules can be imported via the File Import button.
The Docusnap Tools button opens the folder containing the Autonomous Discovery Modules.
Systems can be assigned to sites in the System Assignment.
In the System Groups dialog, inventoried systems can be assigned to system groups to form logical groupings. Separate maps can be generated for each group.
The Maintain data inventory button opens the database maintenance dialogue.

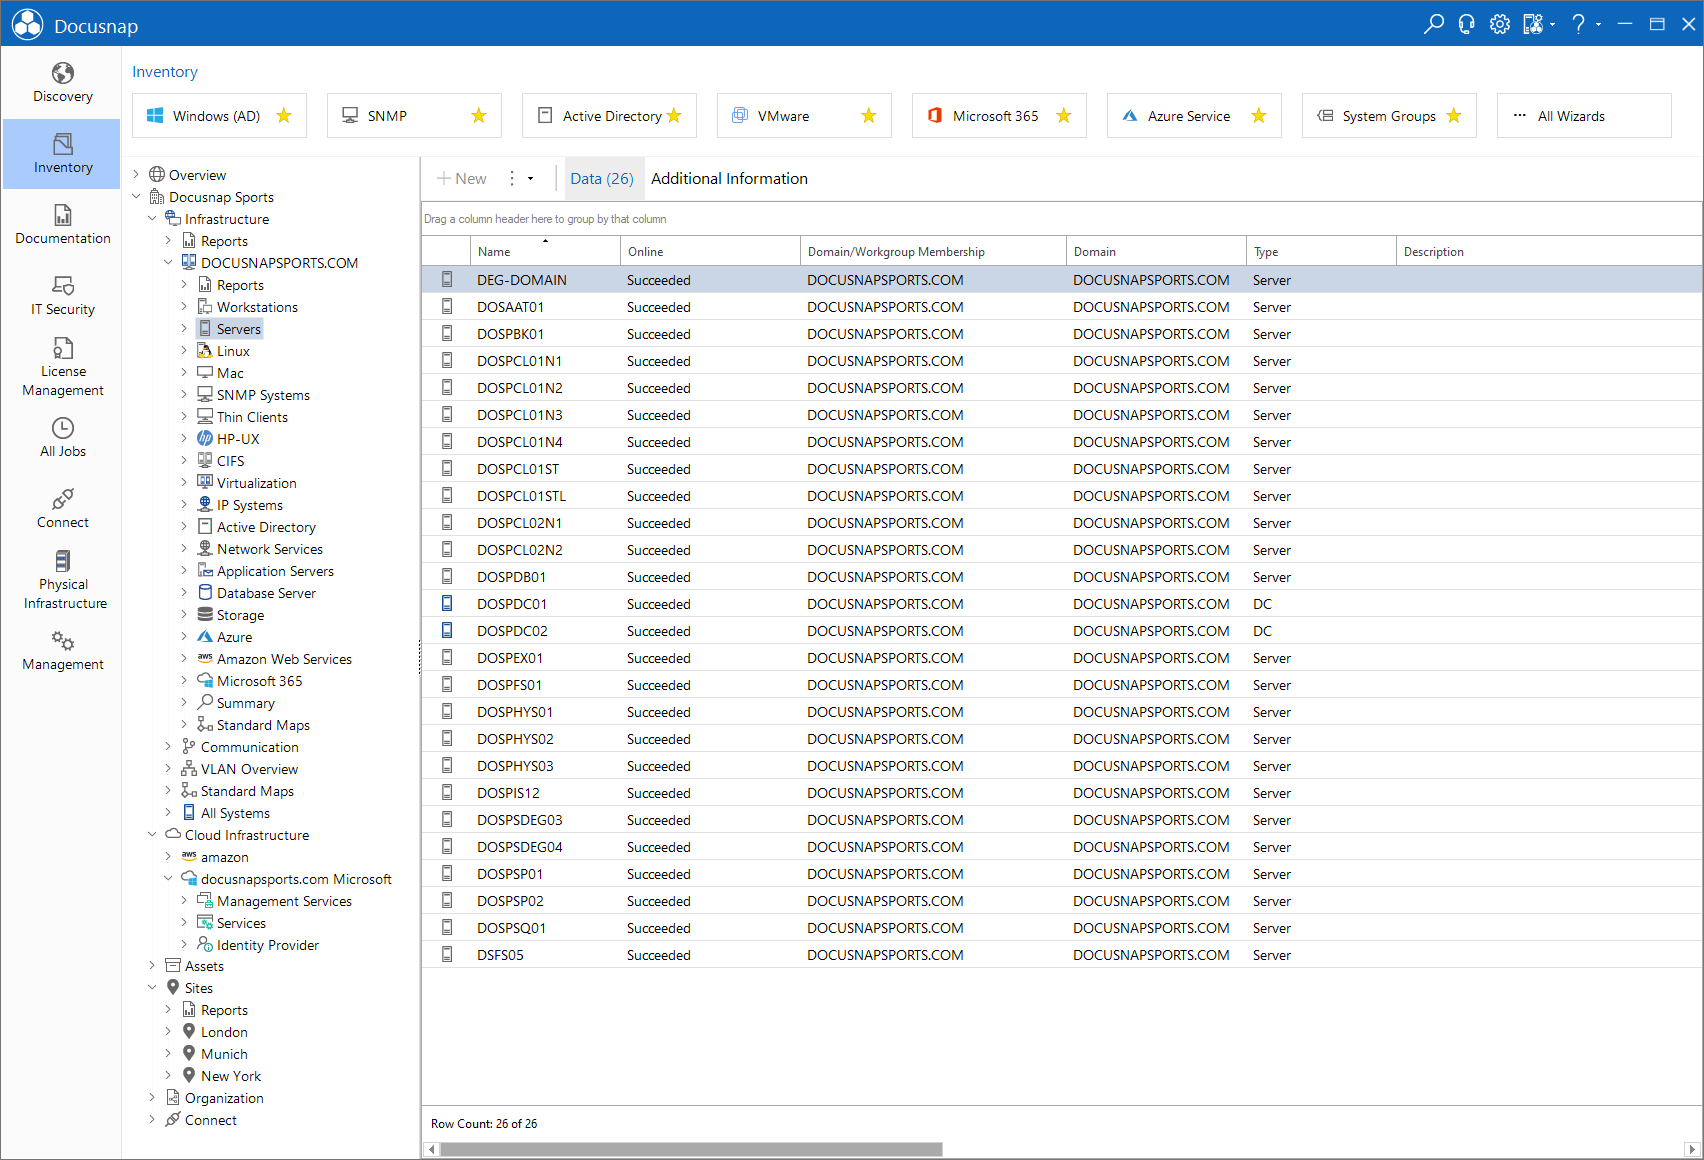
The Data Explorer Inventory displays the data from the network inventory and the manually entered information.
In the top level is the company. A new company can be created using the New button located in the action bar. To create a new company, either an existing company must be selected in the tree or no object must be selected. By clicking on the New button, the data entry mask for creating companies is opened. After entering all data, they can be saved by clicking on the Save button.
Below the node Infrastructure the domains with the respective inventoried systems are displayed. These domains in general correspond to a Microsoft Active Directory domain in an onPrem environment. Reports and maps can also be generated.
At the same level as the Infrastructure node, the Cloud Infrastructure node is displayed. Below the cloud infrastructure are the tenant domains. Separate tenant domains are created for the cloud modules Azure and Microsoft 365 or Amazon Web Services during the inventory.
IT assets, manual devices and other infrastructure components are created under the Assets heading.
Systems and IT assets can be assigned to sites. The sites are listed under the Sites heading.
The processes, services and organizational elements required for IT documentation can be created under the Organization heading. Additional information is also listed centrally under this heading.