Map
2 minute read
Maps can also be integrated into a concept.
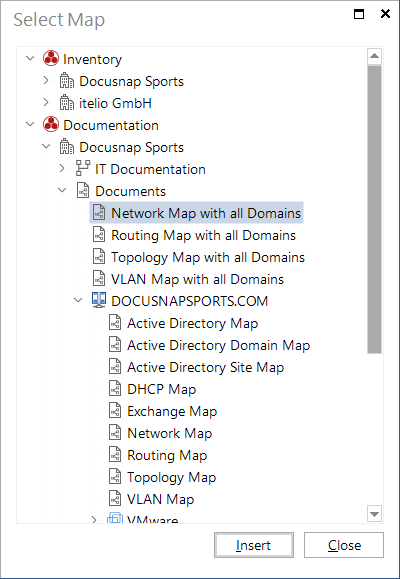
Click the Map button in the Insert ribbon to open the Select Map dialog. Here, you can select a map by expanding the Inventory or Documentation explorer and selecting the desired map. Then, click the Insert button to open the associated Documentation wizard. Now, you can create the map as described in the Documentation section. The settings you specify in the wizard are only used to create this map within the concept. They do not affect the maps generated previously in the Documentation module. If you want to modify a map you generated previously, select it and click the Settings button to reopen the map generation wizard. This allows you to modify existing map properties. It is also possible to drag and drop the map onto the output element. This action also opens the map generation wizard.

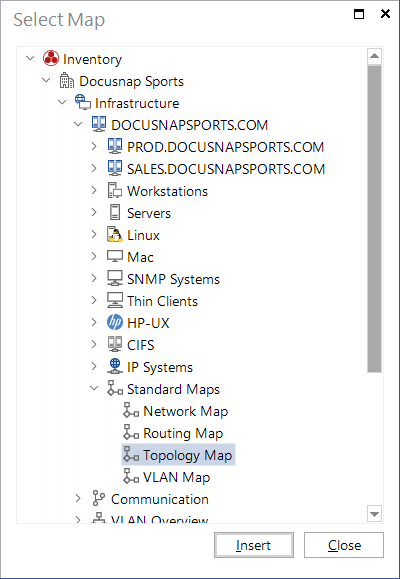
The ad-hoc maps, which can be created in the tree below the heading Standard Maps, can also be used in the concept. For these maps no wizard is opened but rather the map is created without further settings.
If the topology map is created in the tree, a separate map is created for each switch in addition to the overview map. If the topology map from the inventory tree is added in a concept, only the overview map is inserted. To add the desired switch maps, they must be selected below the respective switch. When the topology map from the documentation tree is added, it contains the overview map and all switch maps. This allows you to choose which data is needed in the concept.
