Data Element
3 minute read
You can insert current data from Docusnap into the concept. This loads table content into the concept. Any changes to the dataset automatically update the content.
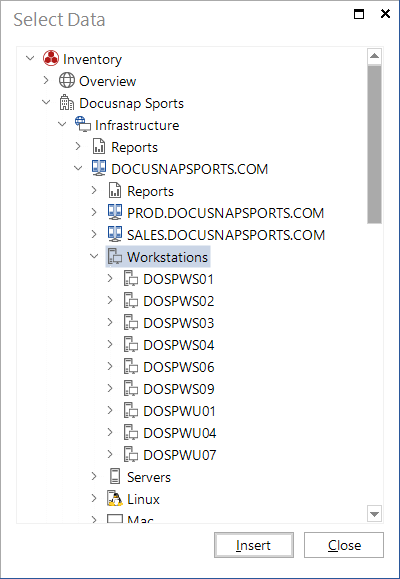
Click the Data button to open the Select Data dialog. This dialog displays the existing trees and allows you to select the desired data. If you want to add the workstations table, for example, select the Workstations heading and click the Insert button to insert the data into the concept.

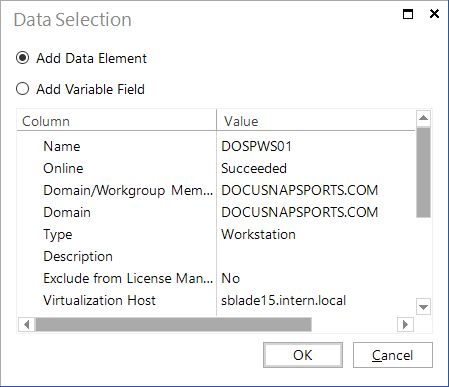
Alternatively, you also can select the desired table content from the Objects window and insert it by drag & drop. When you drag data from the object tree and drop it onto the concept, the Data Selection dialog opens. In this dialog, you can select to add a data element or a variable value.

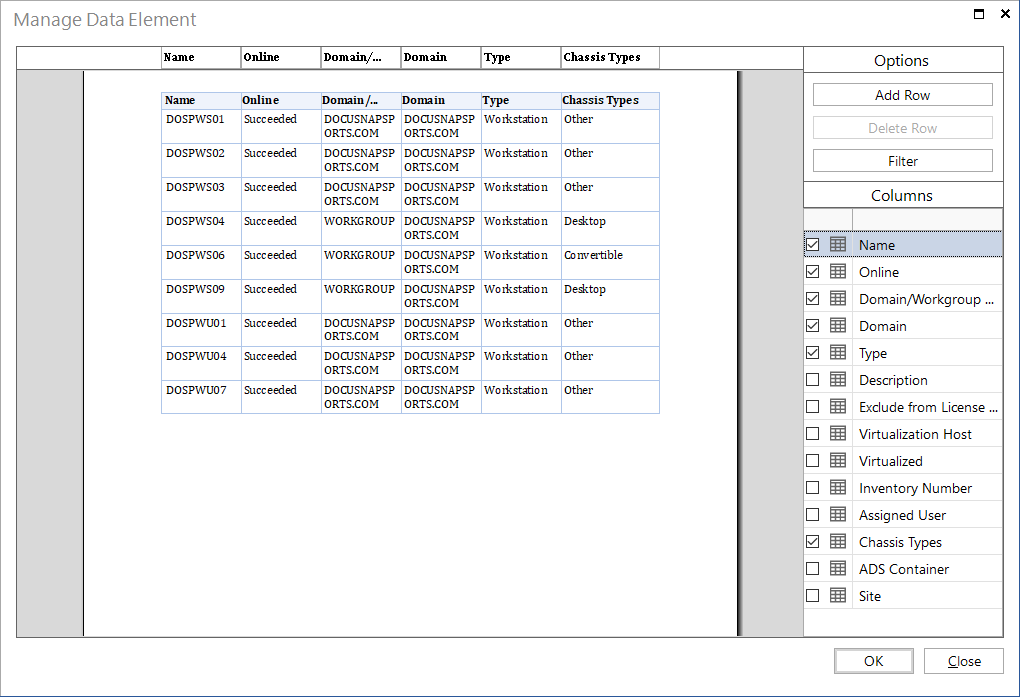
After the table with its data has been inserted into the concept, you can adjust the way its content will be output. When you select the data element, an additional Data Element ribbon displays. By clicking the Settings button or by selecting the Settings option in the context menu of the data element, you can open the Manage Data Elements window. You can drag and drop columns to a different position. The Add Row button allows you to add another row. You can move the columns to this row. By clicking the Delete Row button, you can remove the bottom row and distribute the columns which are still part of that row to the remaining rows.
With the Column Options button, you can select the columns to be displayed.

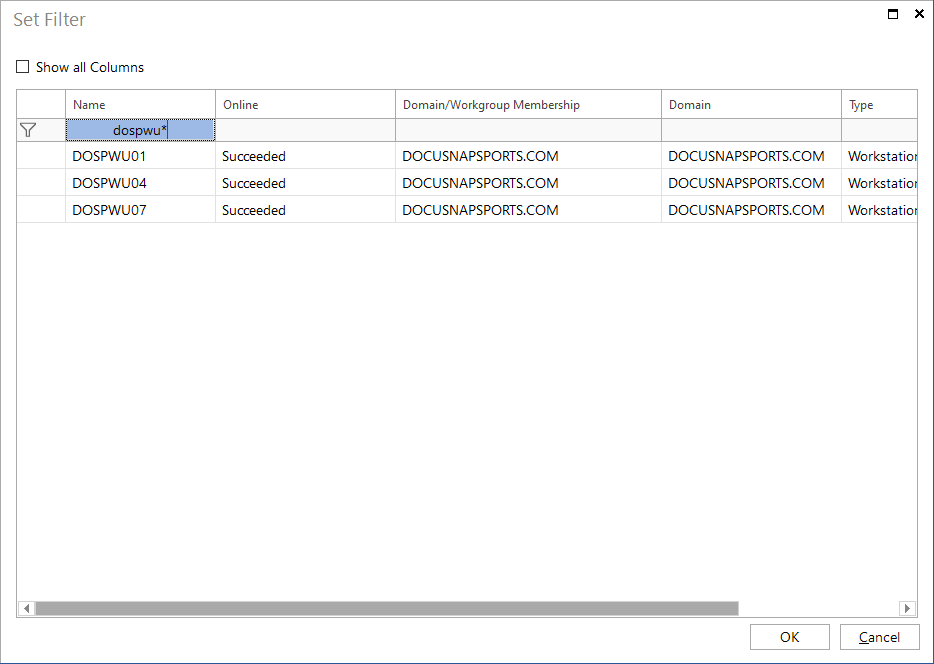
The filter allows you to filter the data that will be displayed in the IT concept. The filter options shown here are similar to the filter in the main window. Additionally, the dialog provides an advanced date filter that allows filtering of date fields such as modification date or creation date. The placeholder d represents the current date, while d-x or d+x can be used to define values that are x days before or after the current date. This enables date values to be specified relative to the current date, allowing for a flexible and time-based selection of data.

Some objects can be moved in the data explorer. For example, systems that are moved to another domain, systems that are changed from offline host to Windows systems, or IT assets that are placed in a different folder.
If the data of an object has been added to a concept and this object is subsequently moved in the data explorer, then this data is no longer in the concept after the update. In this case, the data of the object would have to be added again to the concept from the new position in the tree.