Filtering a Single System
2 minute read
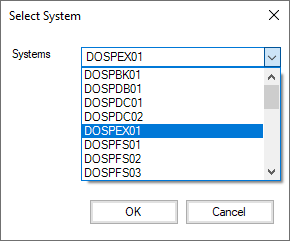
A lookup box can be used to enable the selection of a value.
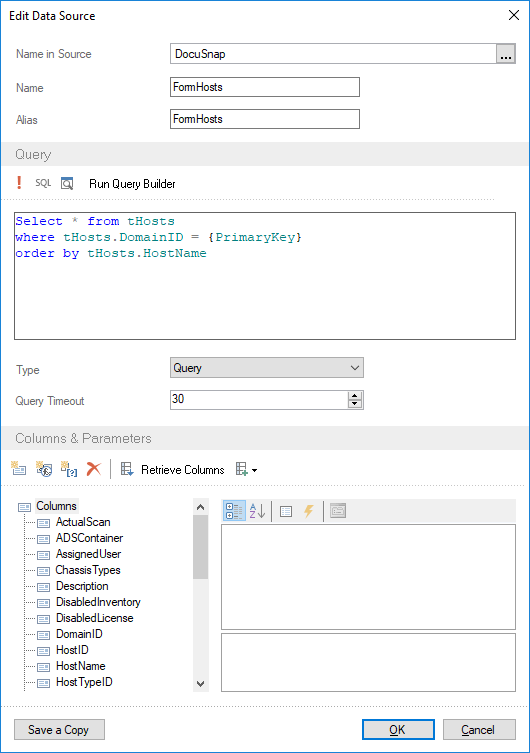
To create this dialog, first define a new data source. This data source can then be used to supply the selection list values. Make sure to indicate in the data source how to sort the list because the components will output the values as they appear in the table without considering the alphabetical sort order.
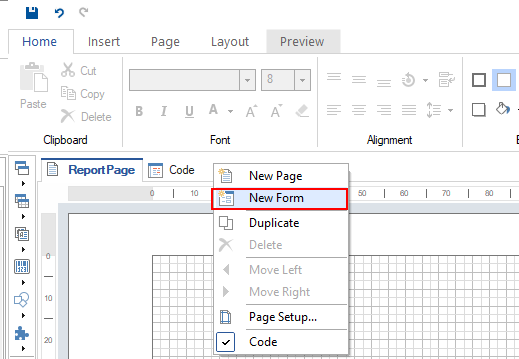
First, create a new form in the Report Designer by right-clicking the horizontal area to the right of the Preview tab and selecting New Form from the context menu.
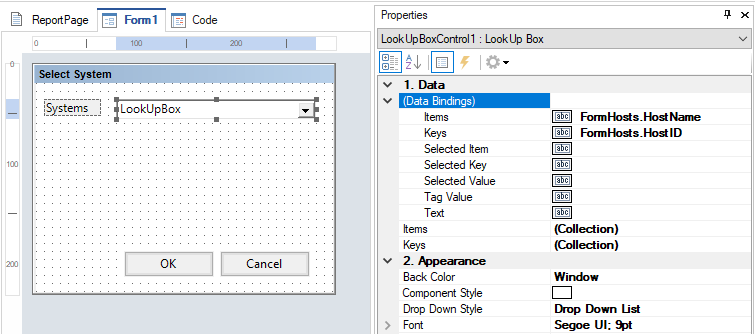
Use the toolbox to add a label as the first element and enter System: for the Text property.
Then, add a lookup box and select the FormHosts.HostName data column for the (Data Bindings) - Items property and the FormHosts.HostID data column for the (Data Bindings) - Keys property. For the lookup box, set the (Name) property to cbxSystems. Then, add two buttons. For one of the buttons, select Cancel as the Dialog Result property, and for the other one, select OK as the Dialog Result property. Change the Text properties to OK and Cancel, respectively. This completes the dialog creation.
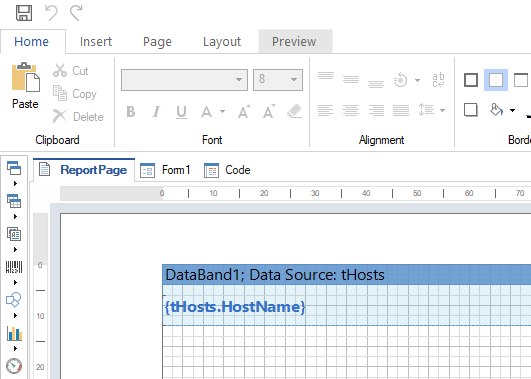
Next, change to the ReportPage tab to add the data output components. Define a data band and select the tHosts table as its data source. For the table, set the Connect On Start property to True. Then, add a text box to the data band and enter HostName as the Text property.
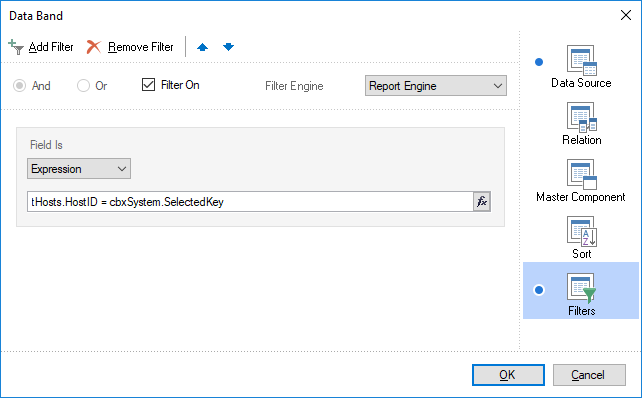
Next, double-click the data band to open the Data Setup dialog. Go to the Filters page to add a filter and enter the tHosts.HostID = cbxSystems.SelectedKey expression for it. This filter determines that only the system whose HostID matches the one of the selected system will be displayed.
tHosts.HostID indicates the primary key of the tHosts table. The second part of the expression is composed of cbxSystems (the name of the lookup box in the dialog) and SelectedKey which references the key of the selected value.
Only the selected value will be included in the report.
